Optimal Timing for Floor Scratch Repairs
Timing for floor scratch repairs depends on various factors including climate, indoor conditions, and flooring material. Addressing scratches promptly can prevent further damage and maintain the appearance of the floor. Seasonal considerations, such as avoiding repairs during high humidity or extreme temperatures, can influence the effectiveness of repairs.
Spring and early summer are ideal for floor scratch repairs due to stable humidity levels and moderate temperatures, which facilitate proper adhesion and curing.
Perform repairs when indoor humidity is between 40-60% and temperatures are consistent to ensure materials set correctly without warping or cracking.
Hardwood floors benefit from repairs in dry seasons, while laminate and vinyl may require specific conditions for best results.
Regular inspections and timely repairs can prolong the lifespan of flooring, reducing the need for extensive restoration.
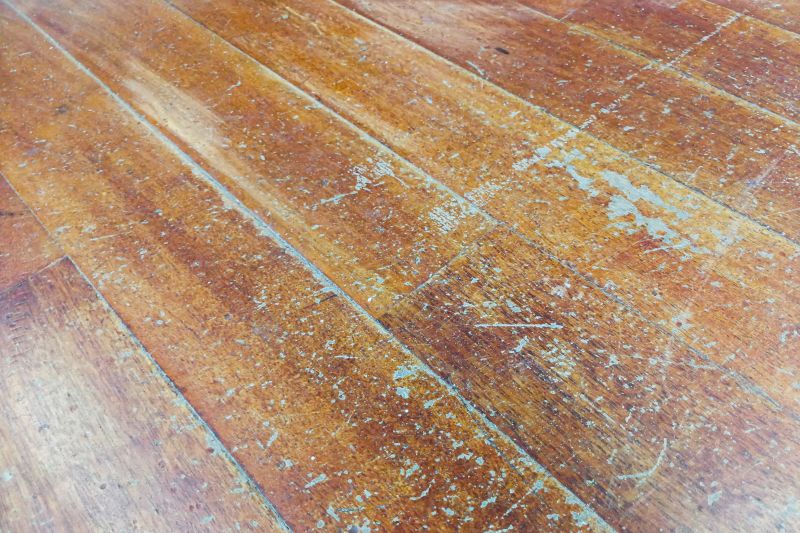
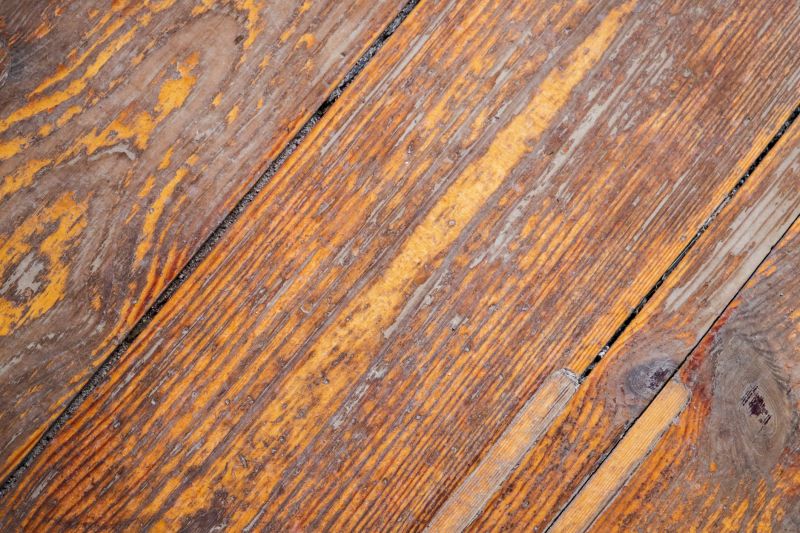
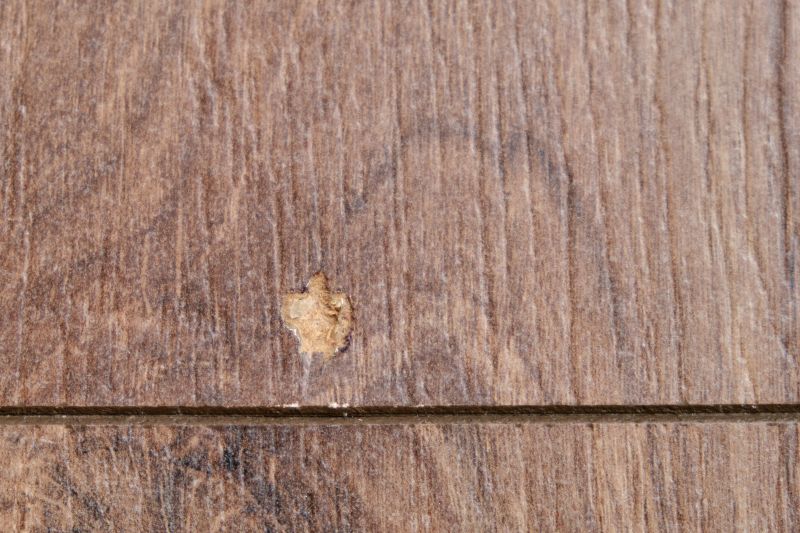
Image depicting sanding, filling, and finishing stages of scratch repair.
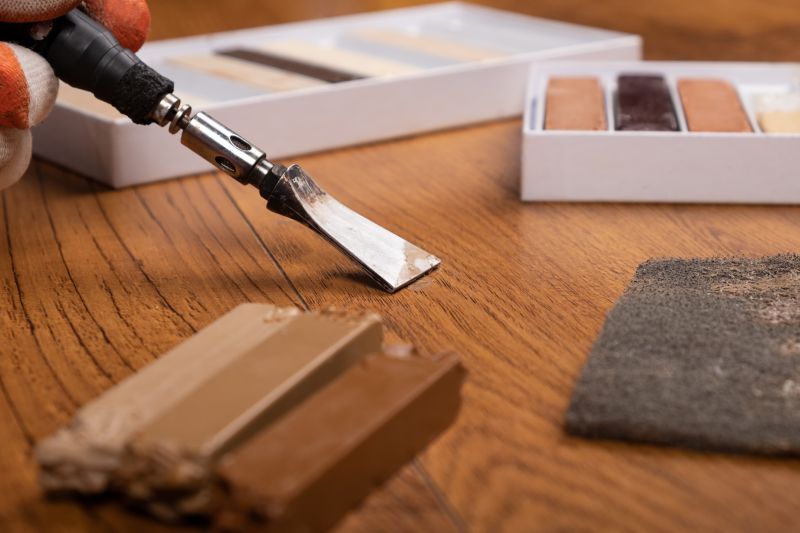
Image showing repair tools such as sanders, fillers, and finishing products.
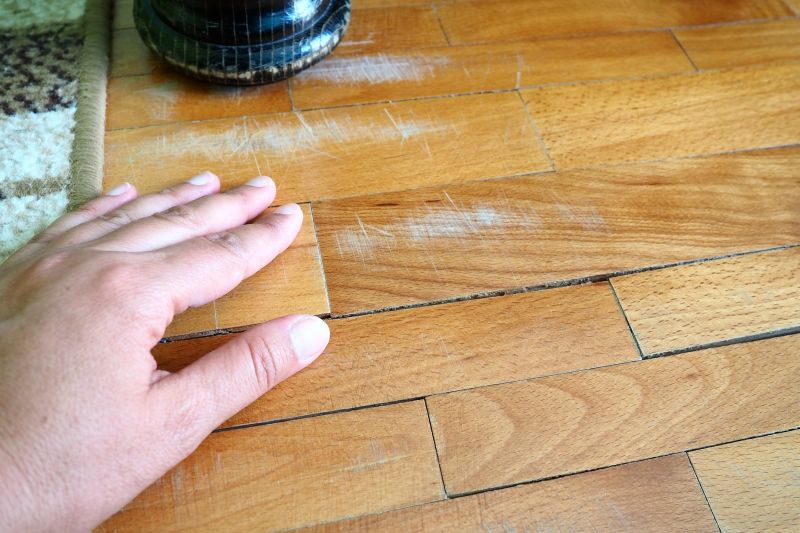
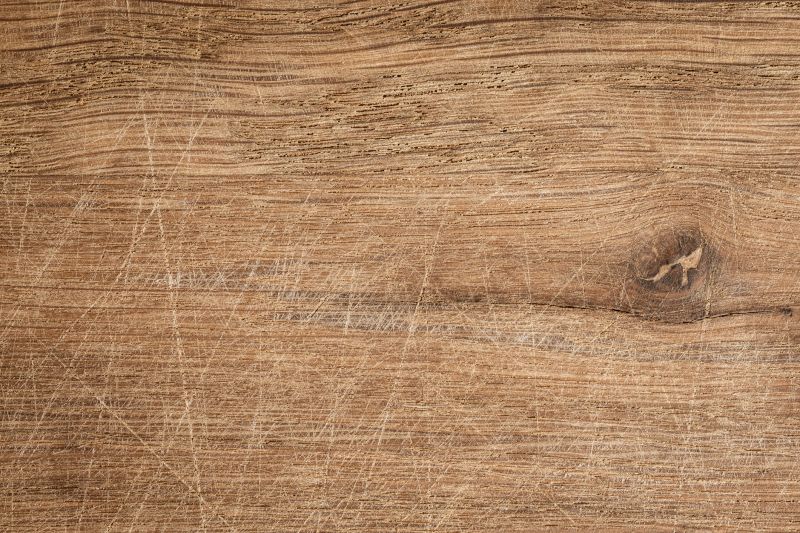
Image demonstrating the transformation of a scratched floor post-repair.
Ways to make Floor Scratch Repairs work in tight or awkward layouts.
Popular materials for Floor Scratch Repairs and why they hold up over time.

Simple add-ons that improve Floor Scratch Repairs without blowing the budget.
| Factor | Best Practice |
|---|---|
| Humidity Levels | Maintain between 40-60% for optimal repairs. |
| Temperature | Keep indoor temperature steady around 65-75°F. |
| Season | Spring and early summer are preferred. |
| Floor Material | Follow specific guidelines for hardwood, laminate, or vinyl. |
| Repair Timing | Address scratches promptly to prevent worsening. |
| Environmental Stability | Avoid repairs during high humidity or extreme cold. |
Floor scratch repairs involve several steps to restore the surface. The process typically includes cleaning the area, sanding the scratch, filling it with a compatible filler, and finishing with a sealant or topcoat. Proper preparation and timing are essential to ensure a seamless repair that blends with the existing flooring. Statistics indicate that timely repairs can extend the lifespan of flooring by up to 30%, reducing the need for complete replacement.
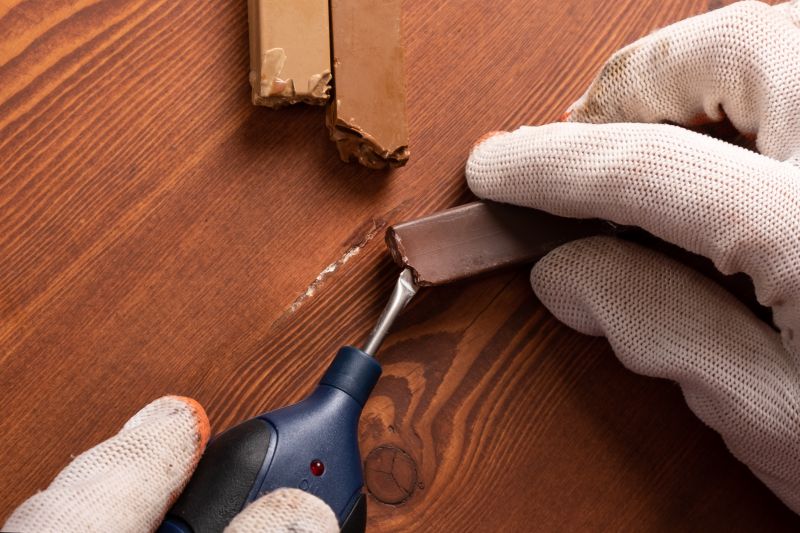
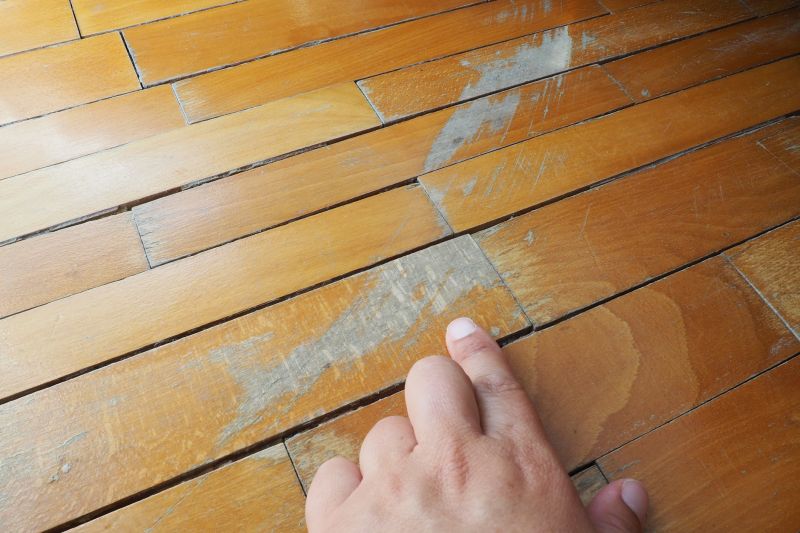
Image showing the sanding process to smooth out scratches.
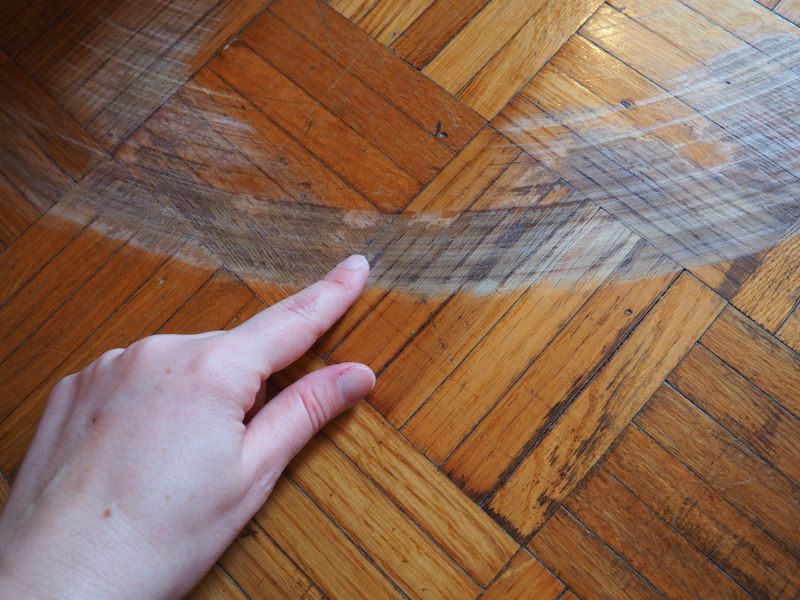
Image of applying a protective topcoat after repair.
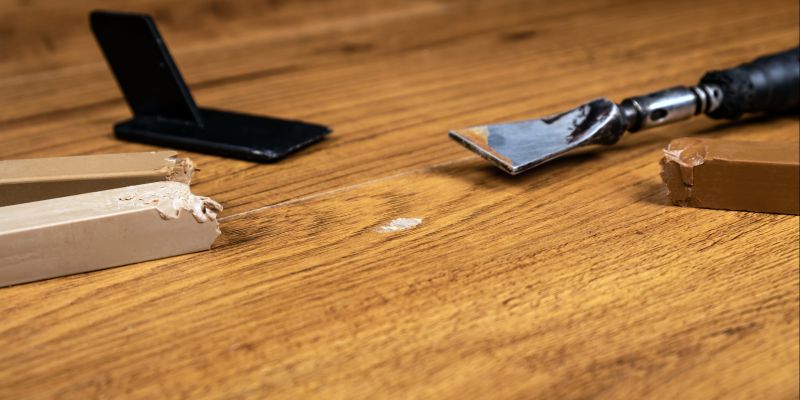
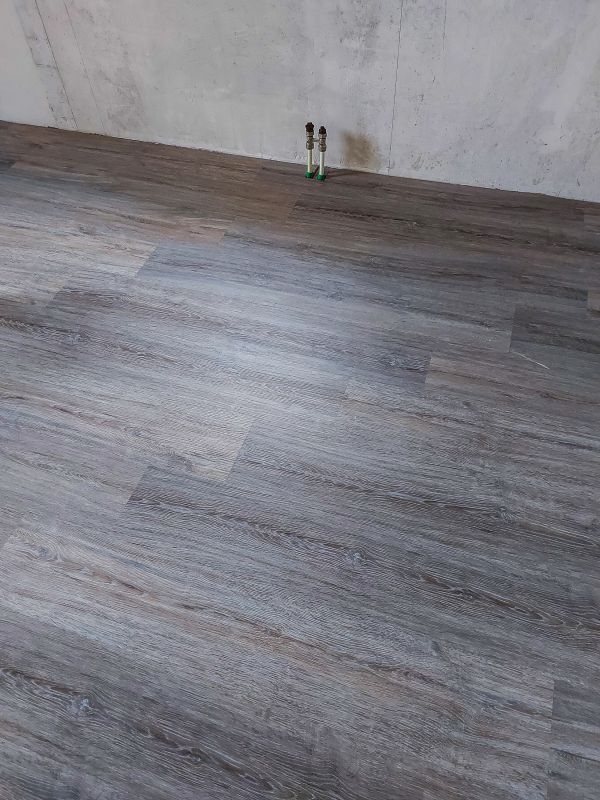
Image displaying a flawless, repaired floor surface.
Image illustrating ongoing floor care to prevent scratches.
High-end options that actually feel worth it for Floor Scratch Repairs.

Finishes and colors that play nicely with Floor Scratch Repairs.
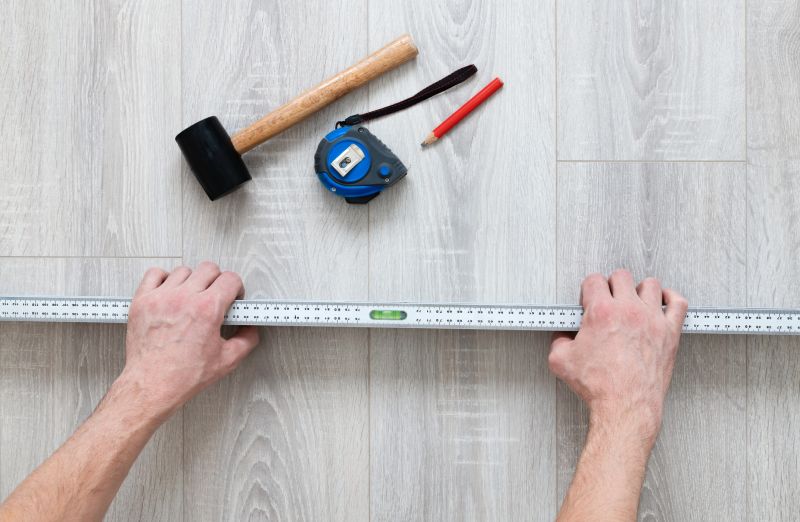
Little measurements that prevent headaches on Floor Scratch Repairs day.
A 60-second routine that keeps Floor Scratch Repairs looking new.
A frequent mistake in Floor Scratch Repairs and how to dodge it.
Small tweaks to make Floor Scratch Repairs safer and easier to use.
Interested in restoring your flooring with expert scratch repairs? Filling out the contact form can provide more information and help schedule a consultation to assess the best timing and methods for your specific flooring needs.